
Ever found yourself giving pepper cultivation a shot at home, only to be disappointed with miniscule fruits or worse, none at all? We feel your frustration – we’ve walked in those shoes too.
Through countless tests and relentless research, we’ve cracked the code on nurturing a humble pepper seedling from its sprout phase right up to harvest. In this guide, you’ll find detailed steps that will empower you to grow lush and lip-smacking peppers right in your own backyard! Are you prepared for an impressive bounty?.
Key Takeaways
- Choose pepper varieties based on your preferences and the growing conditions in your area.
- Gather the necessary supplies, including fresh seeds, seed starter mix, pots or containers, and grow lights.
- Start pepper seeds by soaking them, using a seed starting mix, and providing proper watering and lighting.
- Care for germinated seeds by using a grow light and applying fertilizer to promote healthy growth.
- Transplant seedlings into larger pots or outside in the garden once they reach 3-4 inches tall.
- Maintain pepper plants by pinching off early flowers, hardening off before transplanting outside, regular watering and fertilizing, pest control measures, and staking taller varieties for support.
Choosing Pepper Varieties

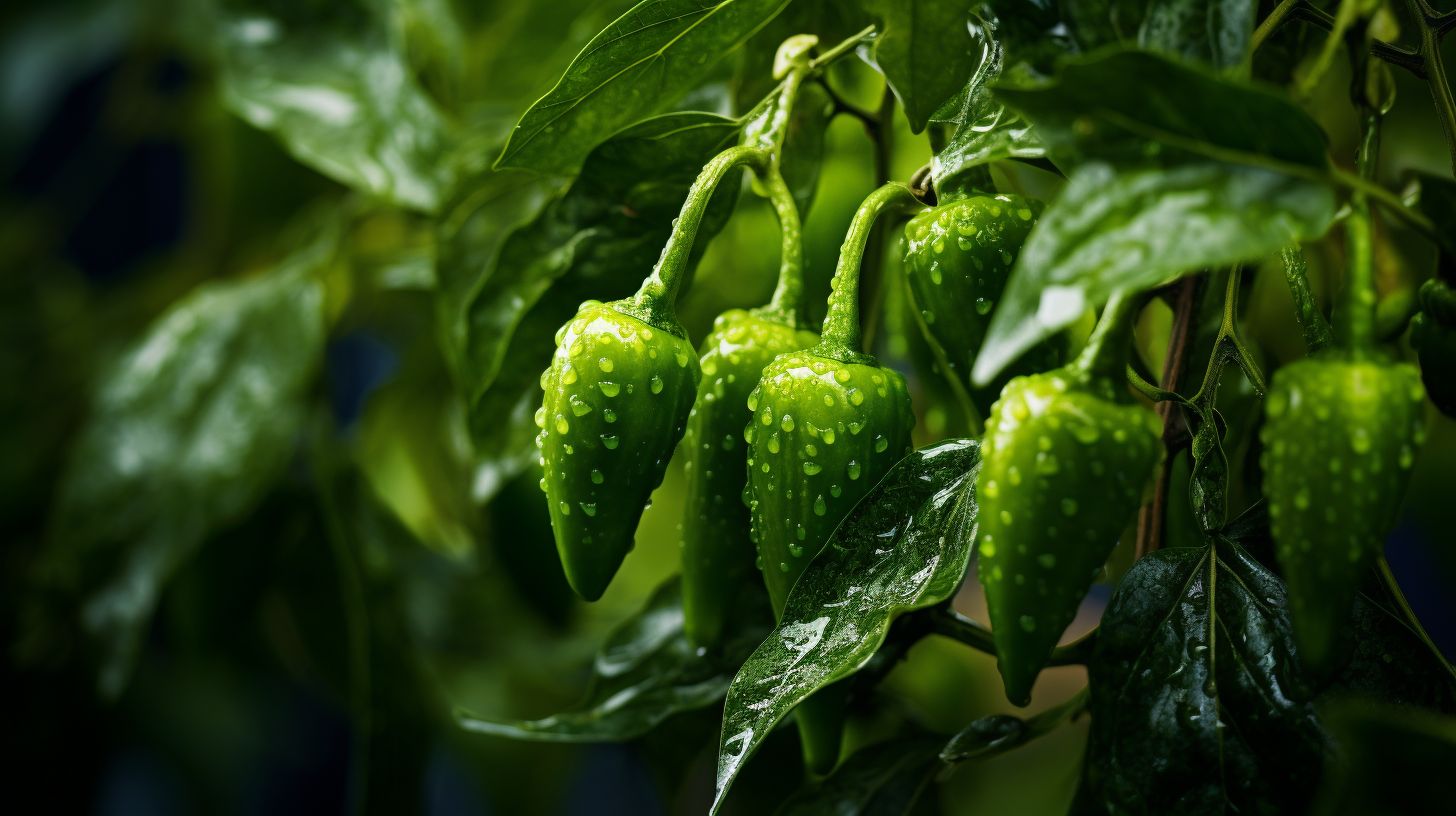
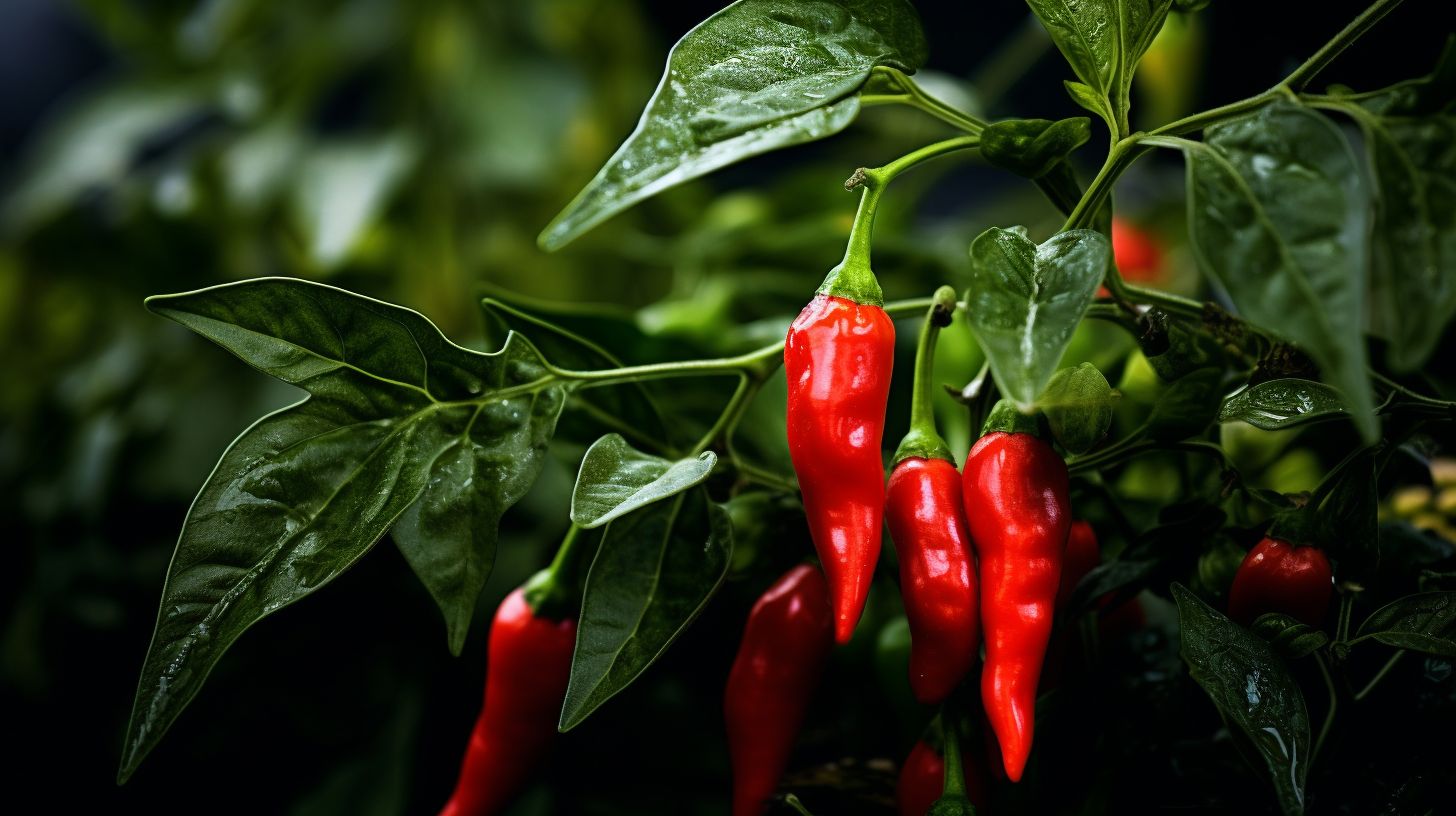
Pepper varieties are fun to pick. There are sweet bell peppers, spicy hot peppers, and all sorts in between. Think about what dishes you want to make with your home-grown peppers. Do you love mild green peppers or do you crave the heat from ghost peppers? That will guide your choices.
Also, read up on how long each kind takes to grow. Some pepper plants need a long growing season. Others can be ready to harvest fast. Always factor in where you live and what the weather is like when picking a type of pepper plant to grow at home.
For first-time growers, it’s smart to try different types of pepper seeds indoors at first. This way, regardless of the frost date or climate changes outside, your indoor seedlings get off to a great start! You’ll soon become an expert on how ‘banana’ differs from ‘bell’, or why people go crazy for chili pepper heat! So let’s dive into this fun world of growing our own fresh peppers!
Gathering Growing Supplies
We think that getting the right supplies is a big part of growing peppers. First, you need fresh pepper seeds. Seeds that are old may not grow well. Seed starter mix will help your seeds grow strong from start.
Next, pots or containers can be used to plant your seeds in. Small ones like 3 to 4-inches are good for starting indoors. Larger ones like 5-gallons are great if you’re going to move them outside later on.
Grow lights also play a role as they help your indoor plants get enough light each day for healthy growth. These supplies don’t cost much and can be reused every year.
Starting Pepper Seeds
Starting pepper seeds is the first step in growing peppers at home. Learn how to properly plant and care for your seeds to ensure a successful harvest. Read more to get started!
Using a seed starting calculator
A seed starting calculator comes in handy when you want to grow peppers. It tells us the best time to start planting pepper seeds indoors. We just put in our city’s last frost date and it gives out all the dates we need to know.
This includes when to plant, transplant and harvest our peppers. Using this tool will help us plan and have a successful growing season for our pepper plants.
Soaking seeds
To give our pepper seeds the best chance of sprouting, we can soak them before planting. Soaking seeds in water overnight helps to soften their tough outer shells and encourages faster germination.
It’s a simple process – just put the seeds in a bowl of lukewarm water and let them soak for 12-24 hours. After soaking, we can drain the water and plant the seeds as usual. Soaking can help speed up germination by up to a few days, giving us a head start on growing our peppers.
Preventing gnats
To prevent gnats from becoming a problem when starting your pepper seeds, there are a few things you can do. First, make sure to use fresh potting soil or seed-starting mix that is free from any fungus gnats or their eggs.
You can also try soaking your seeds in water mixed with hydrogen peroxide before planting them. Gnats don’t like the taste of hydrogen peroxide, so it can help deter them. Another option is to cover your pots or trays with plastic wrap to create a barrier that keeps the gnats out.
Finally, avoid overwatering your seeds and keep the soil surface dry between waterings, as moist conditions attract gnats. By following these steps, you’ll be able to prevent those pesky gnats from bothering your peppers as they grow.
Planting in a seed-starting mix
To start growing peppers from seeds, you’ll need to plant them in a seed-starting mix. This special soil helps provide the right nutrients and conditions for the seeds to germinate and grow into strong seedlings.
Fill small containers or trays with the seed-starting mix, making sure they have drainage holes at the bottom. Gently press one pepper seed down into each container, about ¼ inch deep.
Cover the seeds lightly with more of the starting mix and gently pat it down. Place your containers in a warm location, ideally between 75-85°F (24-29°C). Keep the soil moist but not soaked by watering from below using a tray filled with water.
Watering pepper seeds
To grow healthy pepper seeds, it’s important to water them properly. When watering your pepper seeds, make sure to keep the soil consistently moist but not soaked. Avoid letting the soil dry out completely or become waterlogged.
Use a gentle spray or mist when watering to avoid disturbing the seeds or causing erosion. Water your pepper seeds regularly, especially during germination and early growth stages.
Remember that peppers are sensitive to both overwatering and underwatering, so finding the right balance is key for successful growth.
Germination timeline
When starting pepper seeds, it’s important to know the germination timeline. Pepper seeds usually take around 7 to 14 days to germinate, but it can vary depending on factors like temperature and variety.
The optimal soil temperature for germination is between 70°F and 90°F (21°C and 32°C). Soaking the seeds in warm water for a few hours before planting can help speed up the process.
Once planted, keep the soil consistently moist but not waterlogged. Using a seedling heat mat or placing them in a warm location can also enhance germination. Keep an eye on your pepper seeds during this period and be patient as they sprout into seedlings ready for the next stage of growth.
Caring for Germinated Seeds
After our pepper seeds have successfully germinated, it’s time to give them the care they need to thrive. Using a grow light and applying fertilizer will help our seedlings grow strong and healthy.
Using a grow light
We recommend using a grow light when starting pepper seeds indoors. This is especially important if you don’t have access to enough natural sunlight or if you’re starting your seeds during the winter months.
A grow light will provide the necessary artificial light that peppers need to germinate and grow strong seedlings. Place the grow light about 2-4 inches above the top of the seedlings, keeping it on for 12-16 hours each day.
This will mimic the sunlight and help your pepper plants develop healthy leaves and stems. Remember to adjust the height of the grow light as your seedlings grow taller to ensure they receive optimal lighting throughout their growth journey.
Applying fertilizer to seedlings
After your pepper seedlings have germinated and started to grow, they will need some extra nutrients to help them thrive. It’s important to apply fertilizer at this stage of their growth.
Fertilizer provides essential nutrients that the seedlings need for healthy development. When choosing a fertilizer, look for one specifically formulated for young plants or seedlings.
Follow the instructions on the package for how much fertilizer to use and how often to apply it. Remember not to over-fertilize your seedlings as this can damage them. Applying fertilizer to your pepper seedlings will give them a boost in growth and help ensure a successful harvest later on.
Transplanting Pepper Seedlings
Once your pepper seedlings have grown to about 3-4 inches tall, it’s time to transplant them into larger pots or outside in the garden. When transplanting, make sure you choose containers that are at least 3-4 inches in size, as peppers need plenty of room to grow.
Carefully remove each seedling from its starting container and gently loosen the roots. Dig a hole in the new pot or garden bed and place the seedling inside. Fill in with soil around the roots and press down lightly to secure it in place.
After transplanting, water your pepper seedlings thoroughly and keep an eye on them as they continue to grow.
Maintaining Pepper Plants
To ensure healthy pepper plants, it is important to provide proper care throughout their growing journey. This includes pinching off any flowers that appear early on, as it allows the plant to focus its energy on establishing strong roots.
Hardening off the plants before transplanting them outside is also crucial for a successful transition. As they mature, regular watering, fertilizing, and pest control will help keep your pepper plants thriving.
Lastly, don’t forget to stake taller varieties for support and optimal growth.
Pinching off flowers
When your pepper plants start to flower, it may seem exciting because that means peppers are on the way. However, if you want your peppers to grow bigger and stronger, it’s actually a good idea to pinch off some of those flowers.
By removing a few flowers, you’re telling the plant to put more energy into growing leaves and stems instead of producing fruit right away. This helps the plant establish a strong root system and grow taller before it starts making peppers.
So don’t be afraid to give your pepper plants a little haircut by pinching off some flowers – it’ll pay off in the long run with larger and healthier peppers.
Hardening off plants
To prepare your pepper plants for life outside, you need to harden them off. Hardening off is the process of gradually acclimating your seedlings to outdoor conditions. This helps prevent shock and stress when they are transplanted into the garden.
Start by placing your seedlings outdoors in a sheltered area for a few hours each day, gradually increasing their exposure to sunlight and wind over the course of a week or two. Make sure to protect them from cold temperatures during this time.
By the end of the hardening off period, your plants will be ready for their new home in the garden.
Transplanting outside
Once your pepper seedlings have grown strong and healthy indoors, it’s time to transplant them outside. Choose a sunny spot in your garden that receives at least 6-8 hours of direct sunlight each day.
Before transplanting, harden off the plants by gradually exposing them to outdoor conditions over a period of 7-10 days. This helps them adjust to temperature changes and reduces the risk of shock.
When you’re ready to plant, dig a hole twice as wide and deep as the root ball of your seedling. Gently remove the plant from its container, place it in the hole, and backfill with soil.
Firmly press down around the base of the plant to eliminate any air pockets. Water thoroughly after planting and continue watering regularly throughout the growing season to ensure proper hydration for your peppers.
Pepper plant care (soil, water, fertilizer, pests & disease, staking)
Now that your pepper plants are established, it’s important to take good care of them. When it comes to soil, peppers prefer well-draining soil that is rich in organic matter. Make sure the soil is moist but not waterlogged, as peppers don’t like overly soggy conditions.
Water your plants regularly, giving them a deep watering once a week or whenever the top inch of soil feels dry.
To help your pepper plants thrive, fertilize them every 4-6 weeks with a balanced fertilizer. Be careful not to over-fertilize, as this can lead to excessive leaf growth and fewer fruits.
Keep an eye out for pests like aphids and slugs, which can damage your plants. If you notice any signs of disease such as leaf spots or wilting, take immediate action by removing affected leaves and treating the plant with an appropriate fungicide.
Staking is also important for supporting pepper plants as they grow taller. Use stakes or cages to provide support and prevent the branches from breaking under the weight of the peppers.
Regularly check on your plants and adjust the stakes if needed.
Harvesting Peppers
Now that your peppers have grown and matured, it’s time to harvest them! When the peppers are fully colored and reach their desired size, simply cut or twist them off the plant. It’s important not to pull on the peppers as this can damage the plant.
For bell peppers, wait until they turn from green to their full color—red, yellow, orange, or even purple. Hot peppers can be harvested when they reach their desired level of spiciness.
Harvesting regularly encourages new pepper growth and ensures a bountiful harvest throughout the growing season. Enjoy your freshly picked peppers in your favorite dishes!
” Keep the outline concise and focused on the main steps of growing peppers at home.
Growing peppers at home is an exciting and rewarding experience. With our 11-step guide, you can go from seed to harvest with ease. We’ll walk you through choosing the right pepper varieties, gathering supplies, starting seeds indoors, caring for seedlings, transplanting them outside, and maintaining healthy pepper plants.
You’ll also learn valuable tips on how to harvest your peppers at the perfect time. Whether you have limited space or a big garden, this guide will help you become a successful pepper grower.
Firstly, it’s important to choose the right pepper varieties that suit your taste and growing conditions. Next, gather all the necessary supplies such as pots or containers with good drainage, high-quality potting mix, seeds or seedlings of your chosen varieties, fertilizer suitable for vegetables (or make your own), and stakes or cages for support if needed.
Start by soaking pepper seeds in warm water overnight before planting them in a seed-starting mix using a calculator to determine the ideal sowing date based on your location’s last frost date.
To prevent gnats in your indoor garden area where you started the seeds indoors use sticky traps.
Once germinated after about 7-10 days depending on temperature keep young seedlings under grow lights so they receive adequate light intensity throughout their growth stages Apply diluted liquid fertilizer every two weeks during this stage to promote healthy growth.
When your seedlings are around 6-8 weeks old are strong enough it’s time transplant them into bigger pots or outdoors into prepared beds after hardening off process for few days transferring them indoors during night-time gradually increasing duration each day increase exposure eventualy exposed full day sunlight protecting from harsh sun rays by covering little bit initially then removing cover till they adapt fully
Maintenance includes pinching off flowers (so as not divert energy away from plant establishing itself), applying regular watering fertilizing pest/disease control methods staking provide added stability keeping fruit clean fresh pruning when necessary.
When your peppers are ready to harvest, pick them when they’ve reached the desired size and color. Harvest regularly to encourage more fruit production throughout the growing season.
By following these steps, you’ll have a bountiful pepper harvest in no time!
Conclusion
Growing peppers at home can be a rewarding and enjoyable experience. By following the steps outlined in this guide, you can go from seed to harvest and have your own fresh peppers to enjoy.
Whether you choose sweet bell peppers or spicy chili peppers, with proper care and attention, you’ll soon be picking delicious peppers straight from your garden or pots. So why not give it a try? Happy growing!
FAQs
1. Can I grow peppers from seed at home?
Yes, you can start pepper seeds indoors and transplant pepper seedlings into the garden to continue growing.
2. How do I water my pepper plants?
You should keep the soil moist but not too wet for your peppers to grow best. Be careful because peppers are very sensitive to overwatering.
3. What types of peppers can I grow at home?
Peppers come in many varieties, like sweet bell or hot banana ones; you can even try growing the hottest peppers if you want a challenge!
4. When is it best to pick ripe peppers?
Harvest time varies by type, so follow a guide to growing specific kinds of mature fruits like sweet or bell peppers for when they’re ready.
5. Can we plant our own seeds after harvesting matured fruit?
Absolutely! Peppers like this will produce even more plants that have been hardened off properly before planting next season’s crop.
6. Is it possible to protect my budding pepper plants from problems that may arise during growth?
Yes, following good advice concerning care practices (like how often to feed the plants or when pinching out growth) helps keep your crops happy and healthy!


